Built in 2001, this house had AMAZING bones! I think we only had to rip out two tiny sections of wall, in fact. It had a great floor plan, super high ceilings downstairs, and was in one of the best locations in town. There was an existing pool and spa along with a half acre lot.
Our original plan was to flip it. THEN we decided we should move into it while we build our own house. The house we had been living in was one that we had built, but once we realized how much we stood to make off of our modern farm house on over 13 acres, we couldn’t resist selling our home. THEN we decided we should live in it part of the year and spend the other part of the year in Idaho. THEN we decided we should just move to Idaho, so it became a flip house again. THEN we decided retirement is no fun, and moved back to Texas. And kinda wished we could’ve moved into this house, but it sold before we could even list it for sale last winter.
All that to say, we really loved that house, and I hope y’all do to. Starting with the exterior, here is what we did and all of the sources I can think of for this flip house:
EXTERIOR:
before:
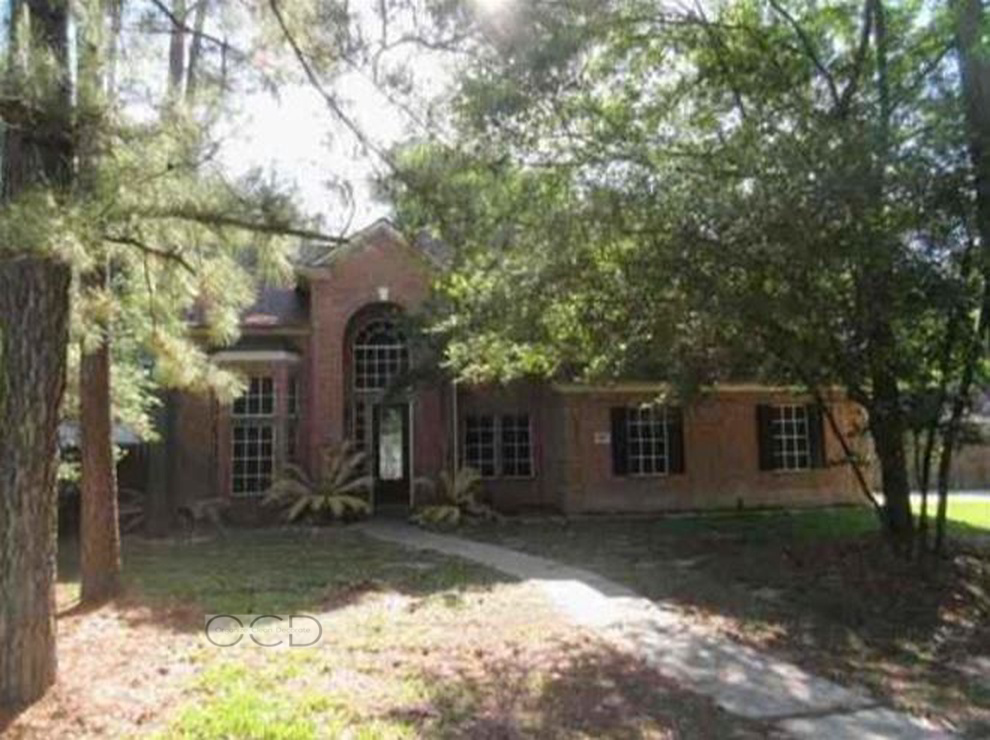
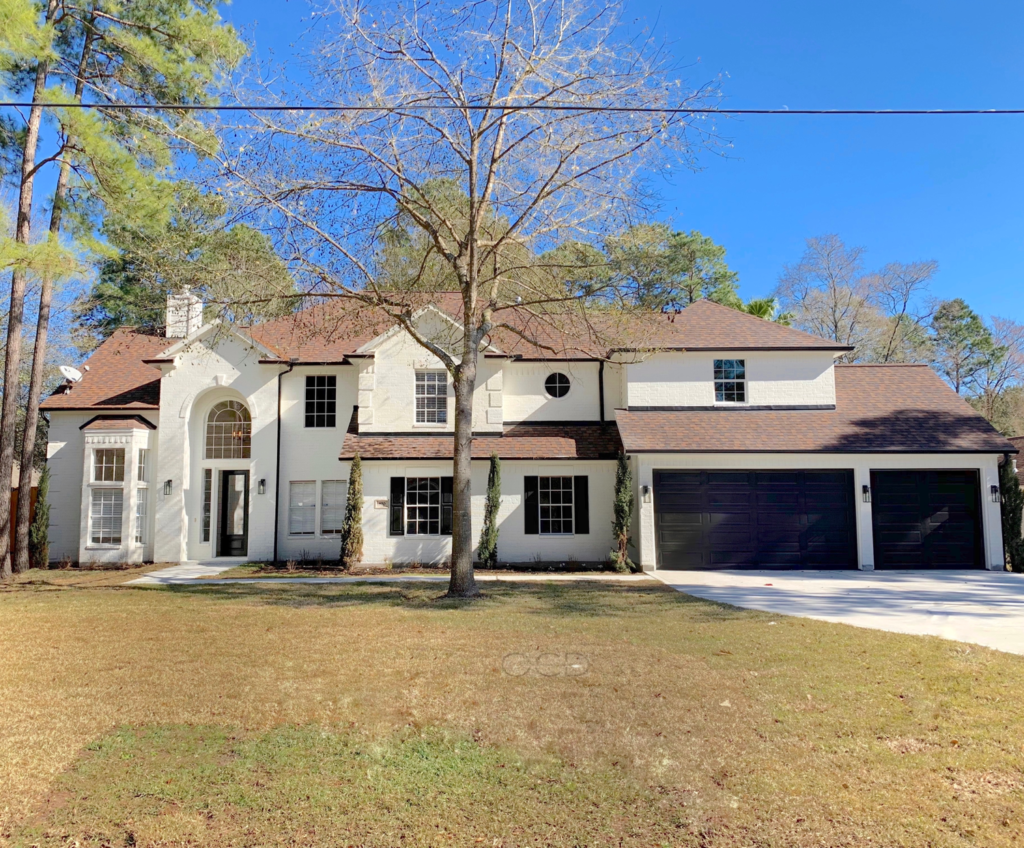
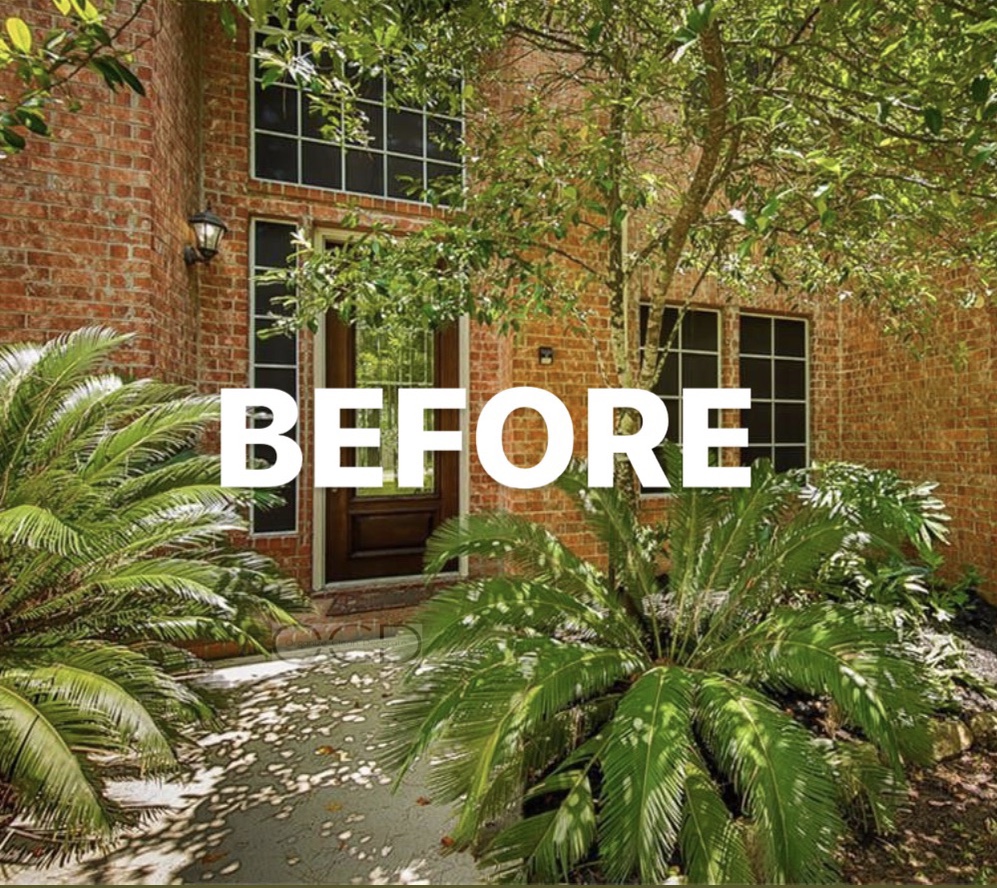
The overgrown landscaping was ripped out and replaced with fresh, more proportionately scaled plants. The walkway up to the house was moved so that it came off of the driveway instead of the street. The brick was all painted Sherwin Williams Alabaster using the paint that Sherwin Williams recommended from their Conflex line. The front door, shutters, garage door, exterior trim, etc. were all painted Sherwin William’s Tricorn black.
Before:
After:
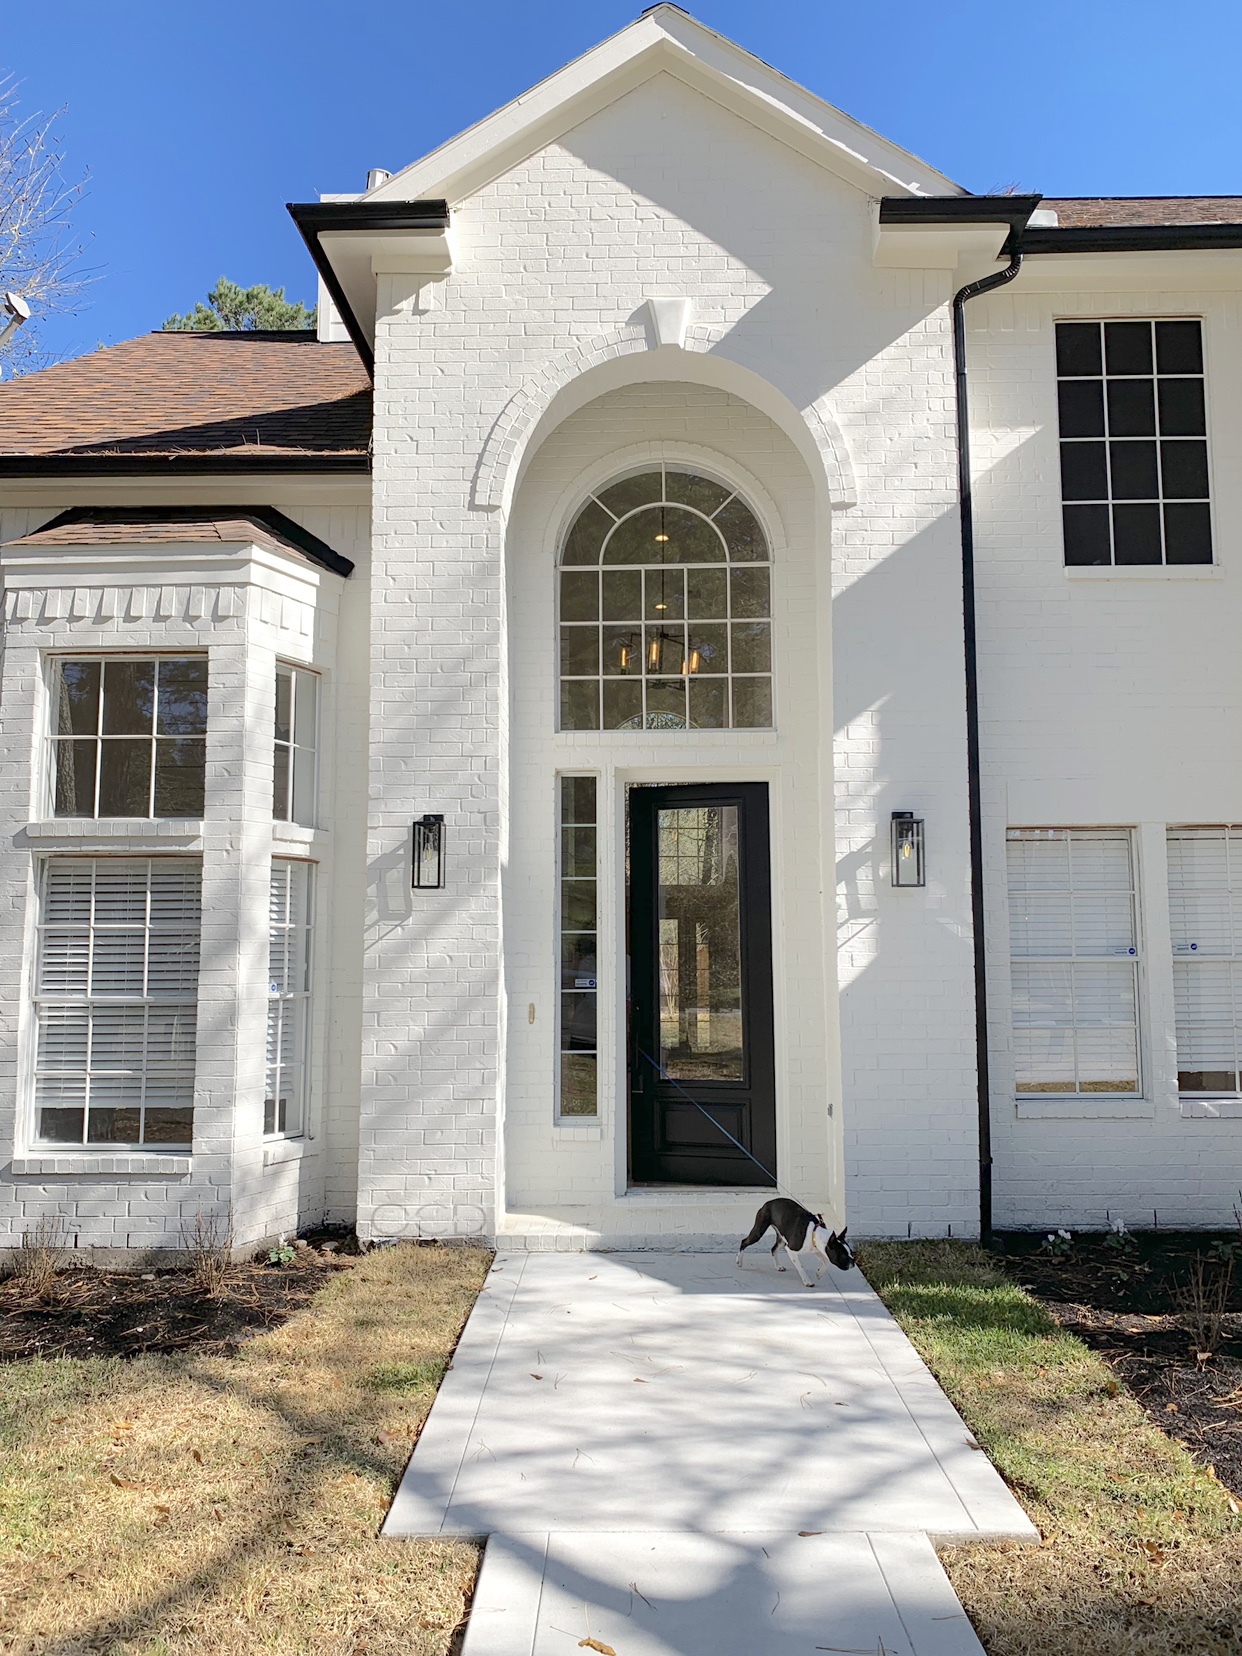
We used these exterior sconces by the front door and by the garage. I loved the idea of using black gutters, so we took a leap and went for it. So glad we did! They’re also painted Sherwin Williams Tricorn black.
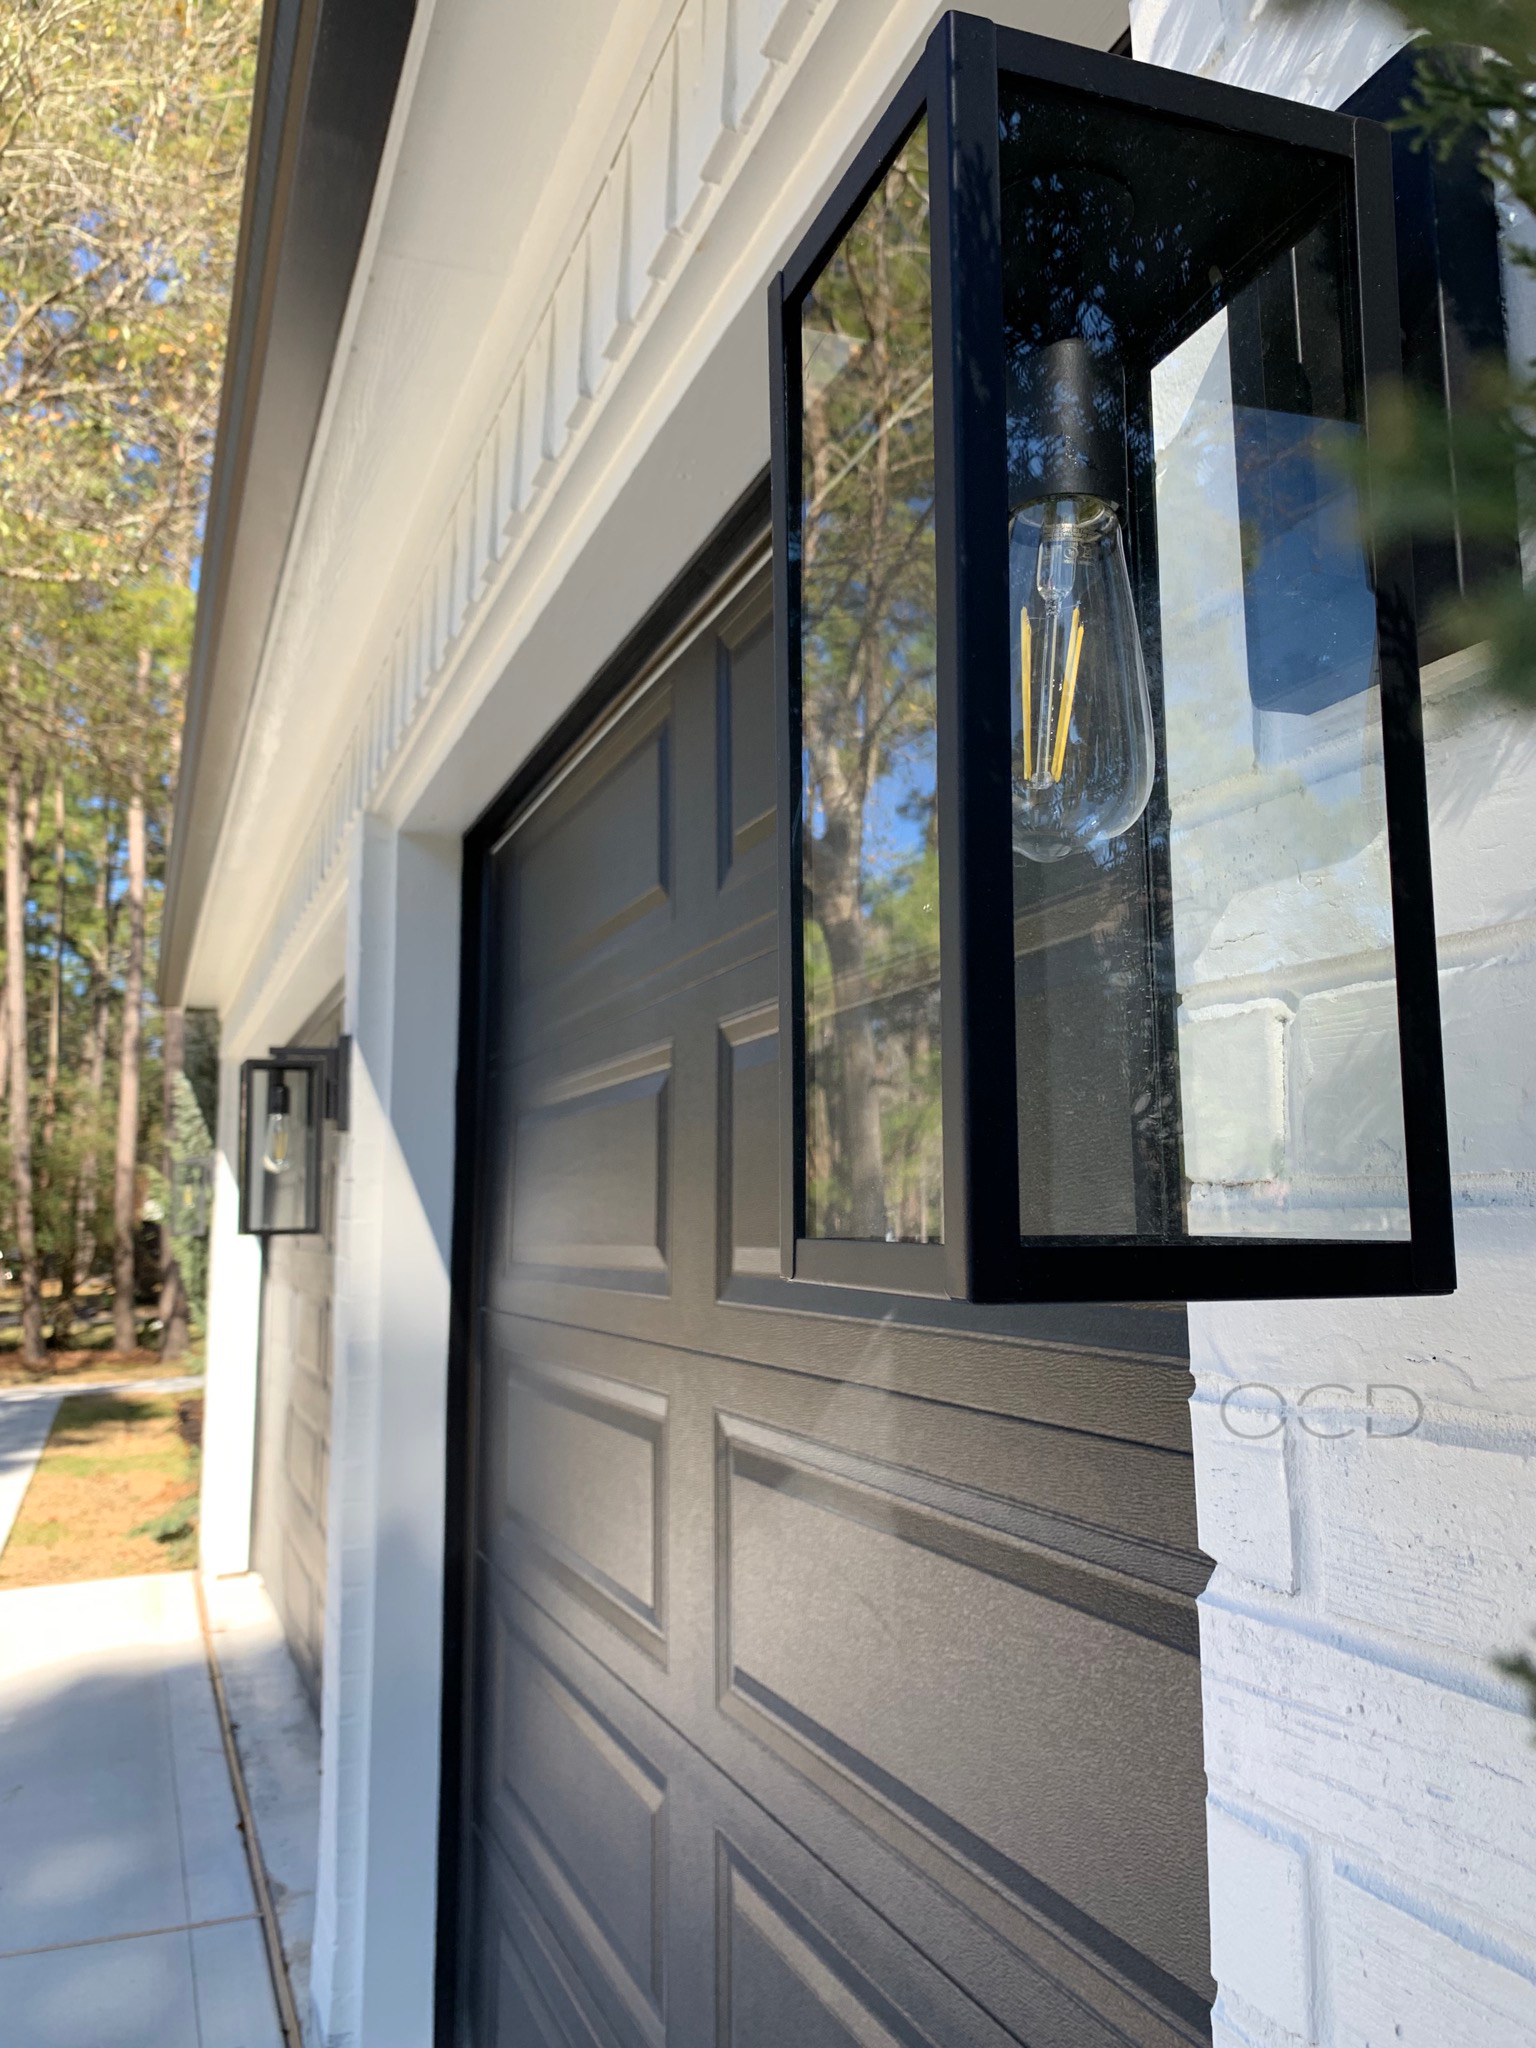
Over by the garage, which as you can see by the before pics, was converted into a game room and laundry room. We added on a large garage which allowed for us to also extend the size of one of the upstairs bedrooms, giving it a walk in closet as well.
There was an existing pool and spa, but it unfortunately wasn’t in the best shape. So we had them re-plastered in white, which made the water look soooo inviting and beautiful! We removed a small deck off to the side of the pool, cleaned up the landscaping, added sod, and extended the concrete back porch. The balcony off of the master bedroom got a couple coats of black paint and a new fan, making it such a great spot to hang out!
ENTRY AND FORMAL DINING
Before:
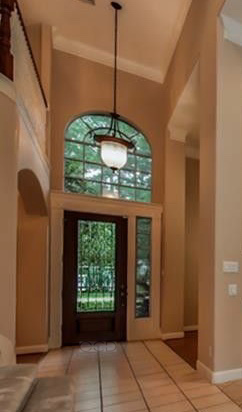
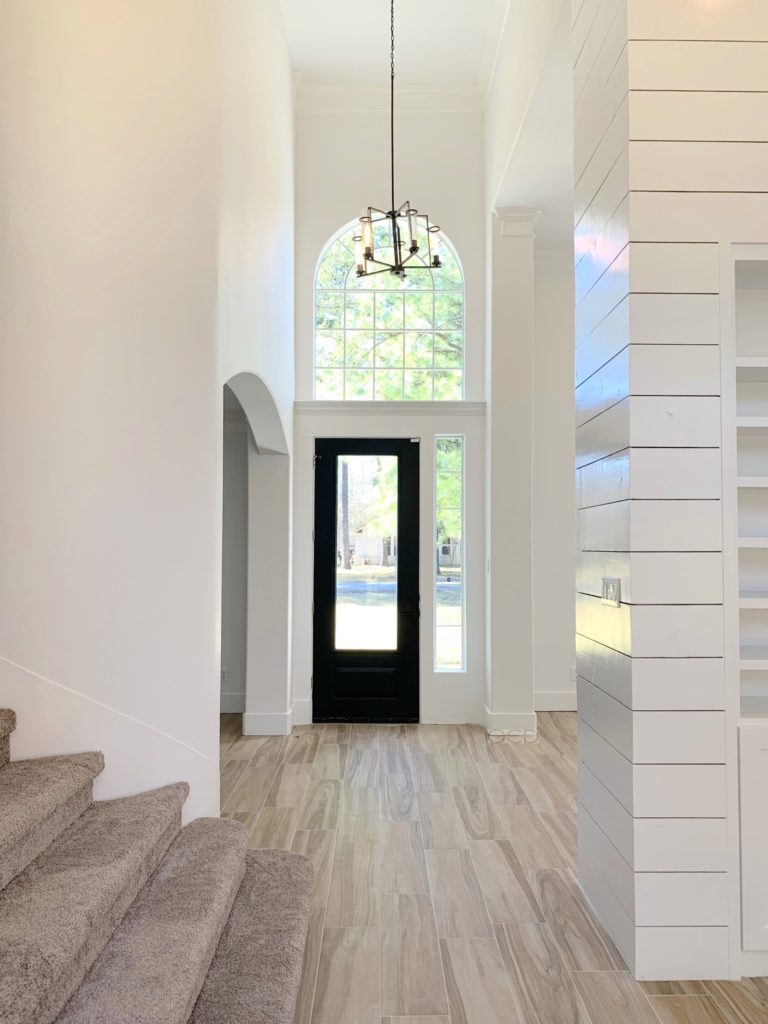
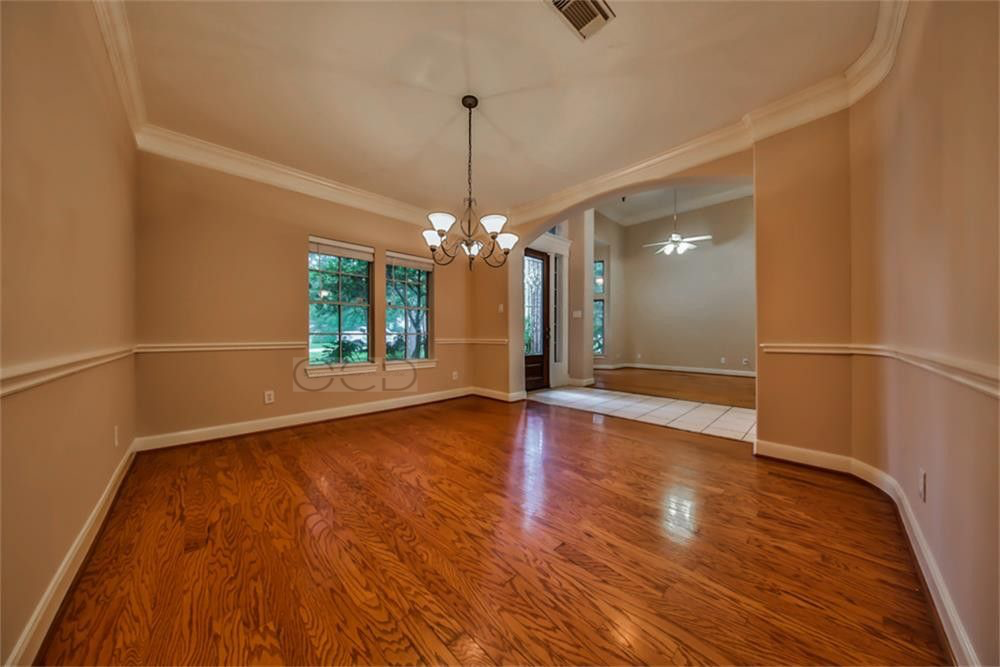
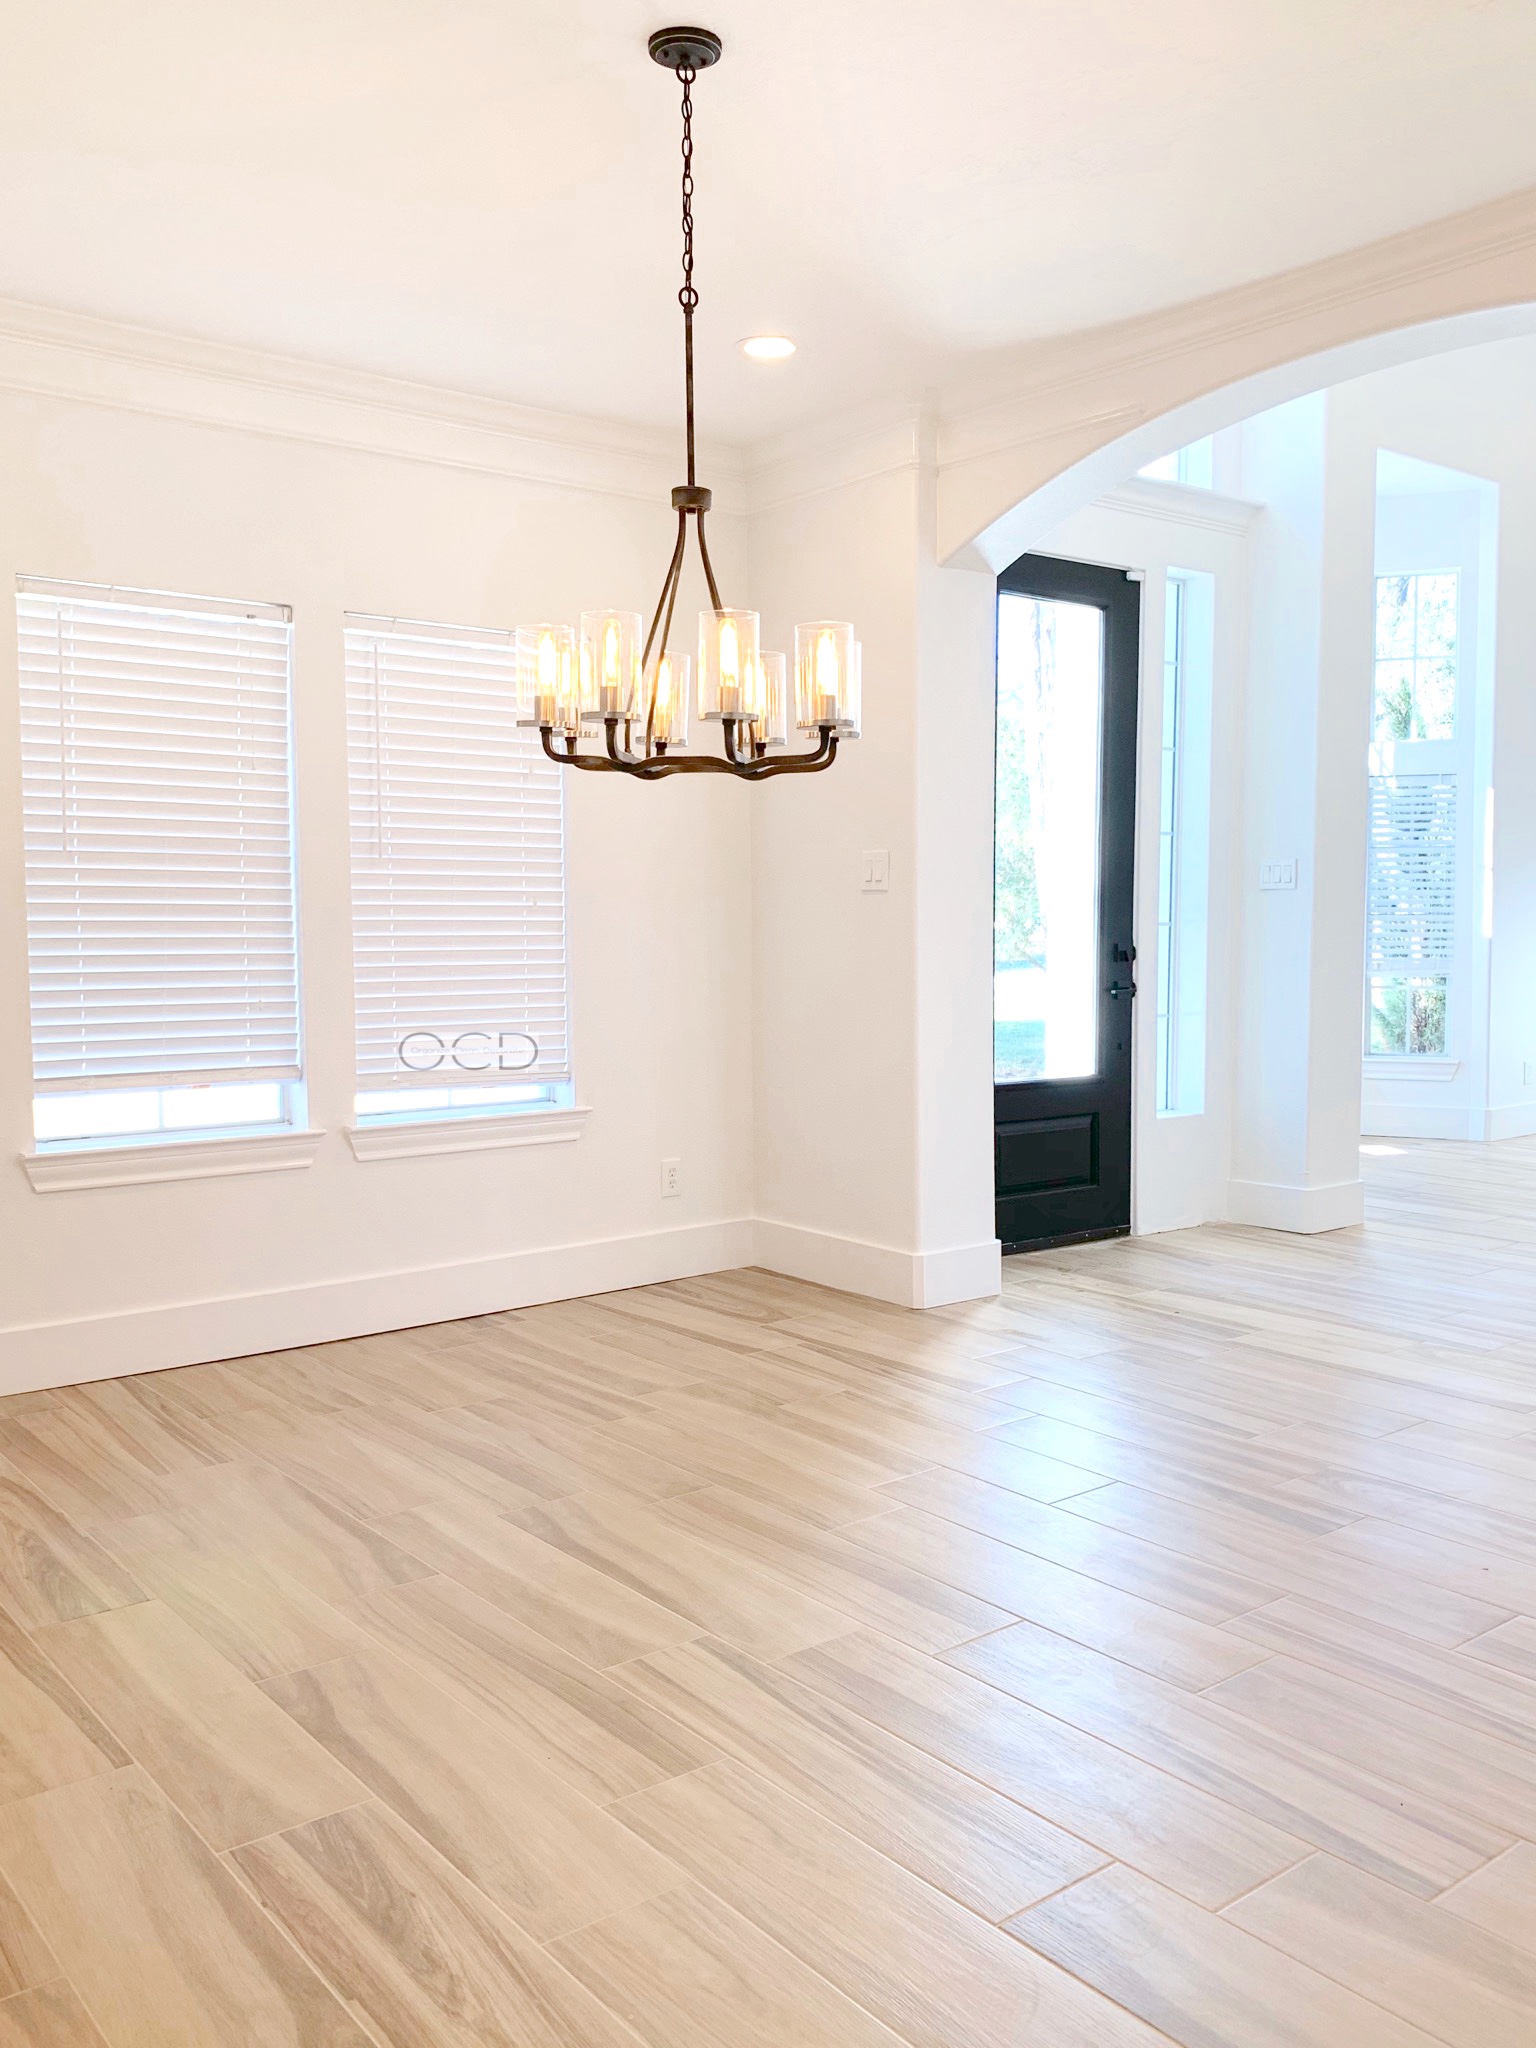
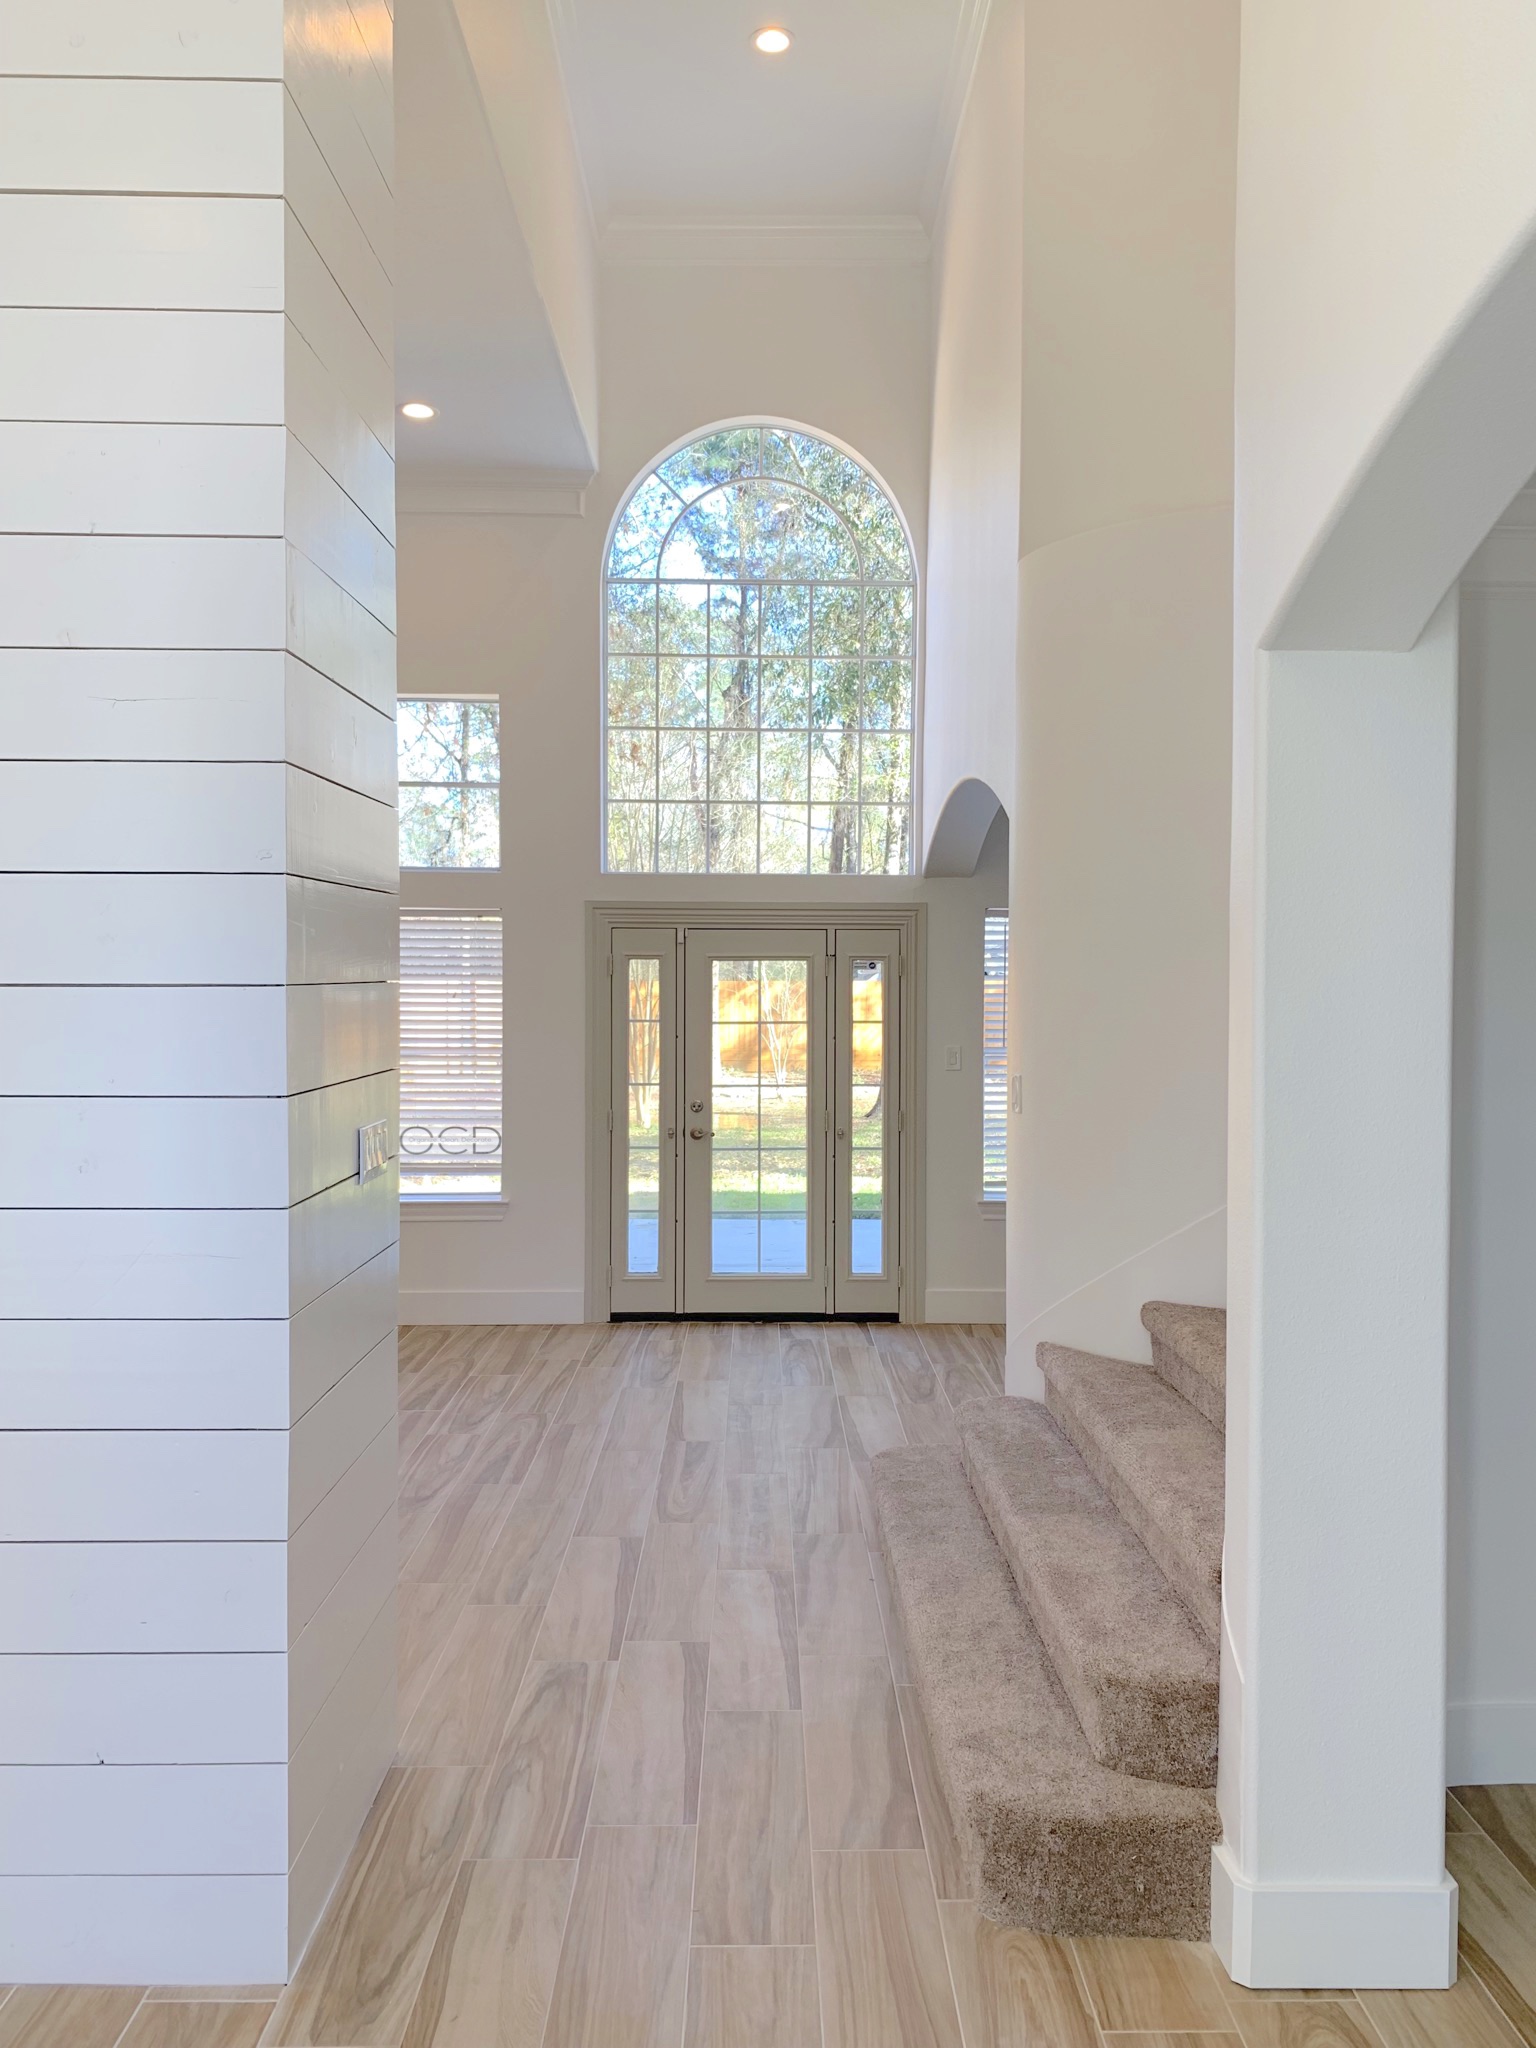
In the front entry, we removed much of the ornate, dated trim pieces around the front door, and painted the trim and walls Sherwin William’s Extra White. With the exception of the interior door trim, interior doors, and cabinetry, everything was painted Sherwin Williams Extra White inside this house. The floors are a wood-look tile and I highly recommend them. This is the exact tile. We removed the huge saggy boob light and replaced it with this beauty, which is very similar to but slightly different (matchy-matchy is not good) from the light in the formal dining room just a few steps away.
Before:
FORMAL LIVING/DEN/OFFICE
Before:
After:
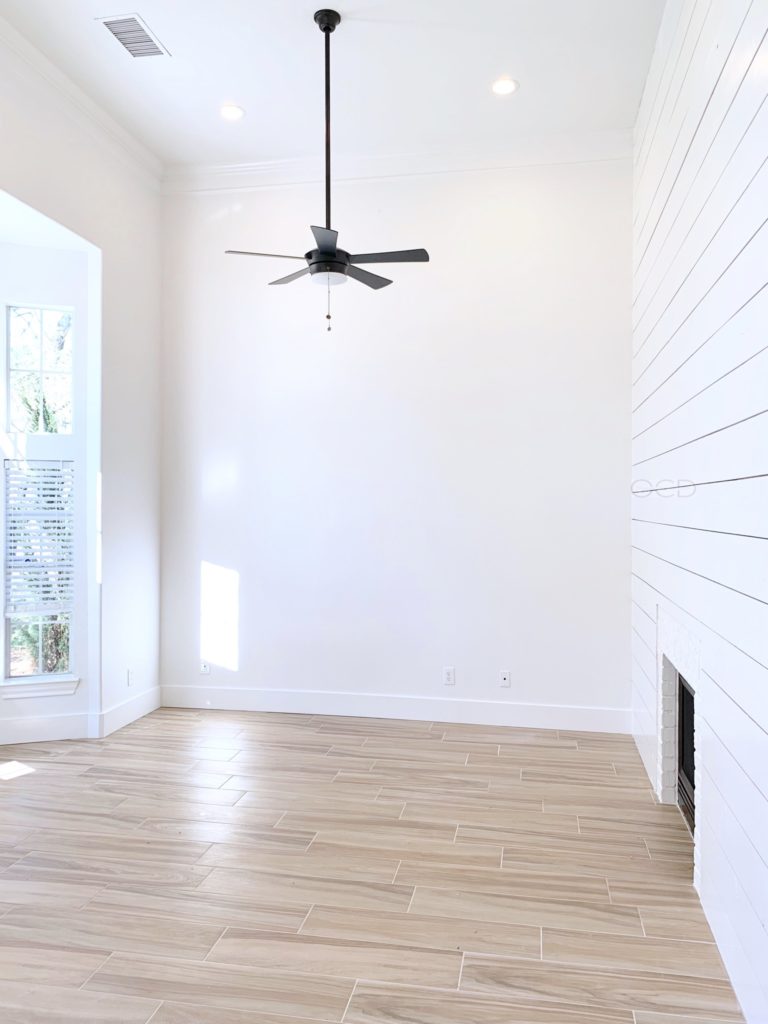
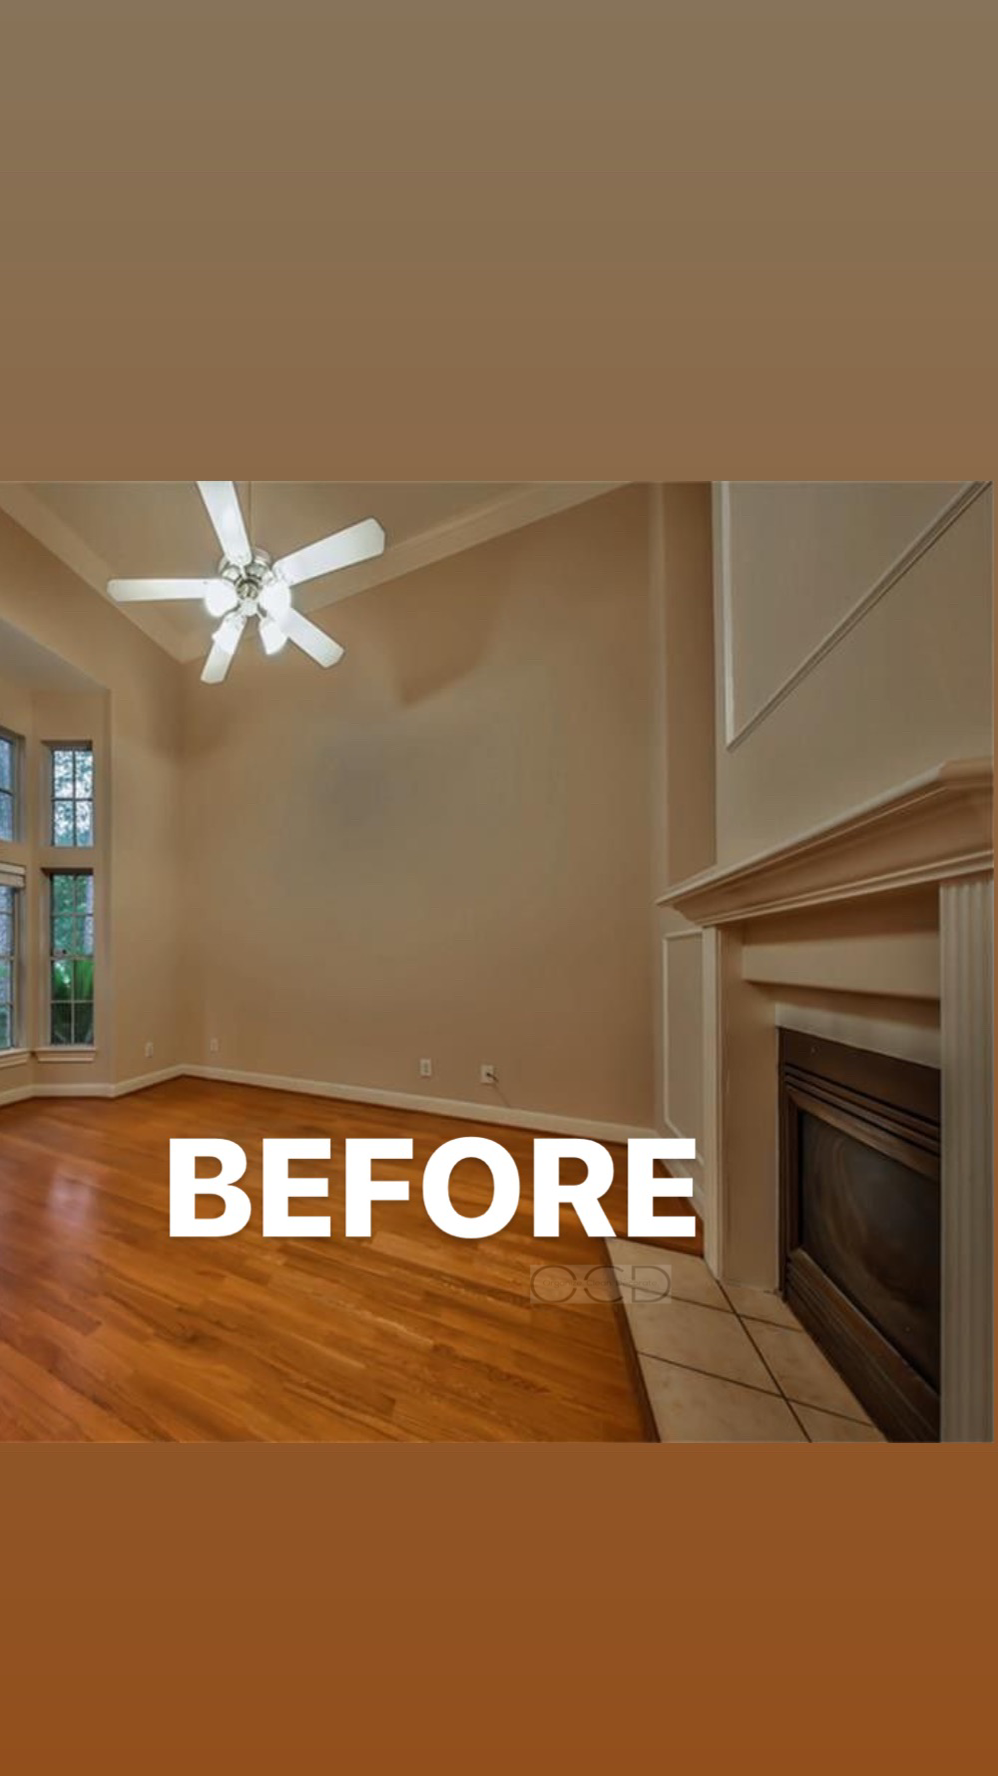
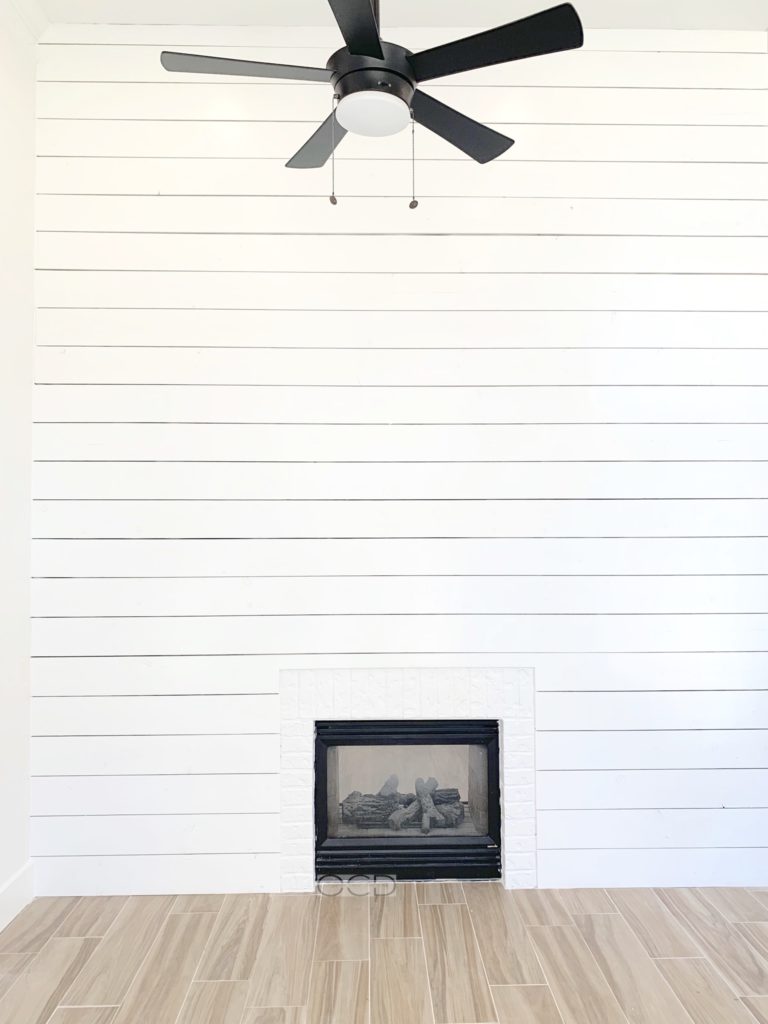
Across the entry from the formal dining room is the formal living/den/office. We removed the millwork, painted everything Extra White, removed the tile fireplace hearth and surround, and then replaced it with brick that we painted and floor to ceiling “ship lap”. To add some light at nighttime, our electrician brought in some can lights (the light from the ceiling fan wasn’t going to be enough) and swapped out the dated ceiling fan for this much more modern one. We used this extension downrod to drop the fan down from the 14 foot ceiling. Ceiling fans are a must in the Houston area, so I make it a goal to find nice looking ones. I know they’re not beautiful, and some people hate them, but they’re so practical to have down here in the south.
FAMILY ROOM
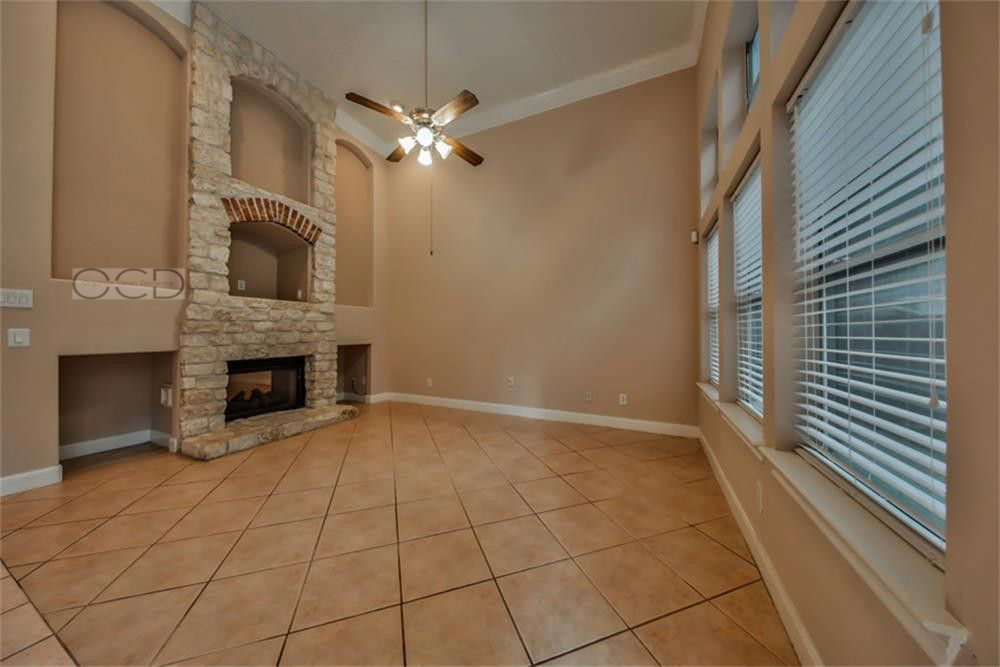
Before:
After:
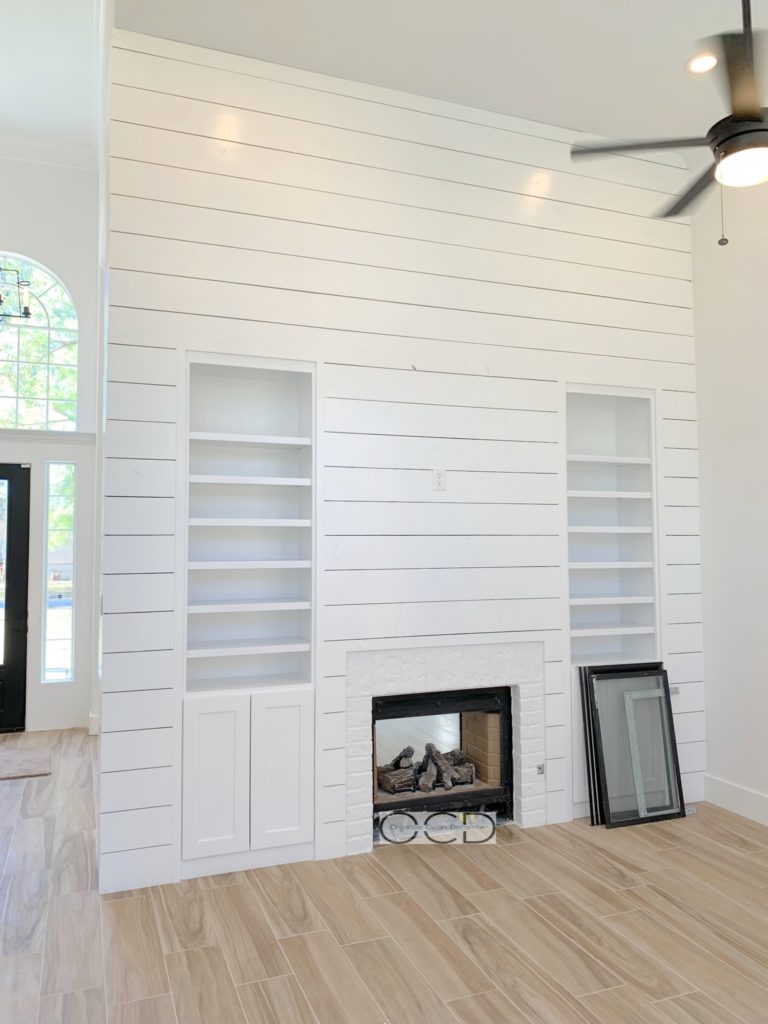
Further down the hall that runs the depth of the main floor, is the living room/family room. The odd stone and sheet rock niches and fireplace surround were ripped out and replaced with more ship lap that was wrapped around that whole wall from the formal living/den/office, around the side into the hall, and into the family room. We used the same white painted brick on the surround, and the same ceiling fan as the formal living. Some shelving and lower cabinets added storage the room, and a fresh coat of Agreeable Gray by Sherwin Williams was added to the back door, side lights, and trim.
KITCHEN
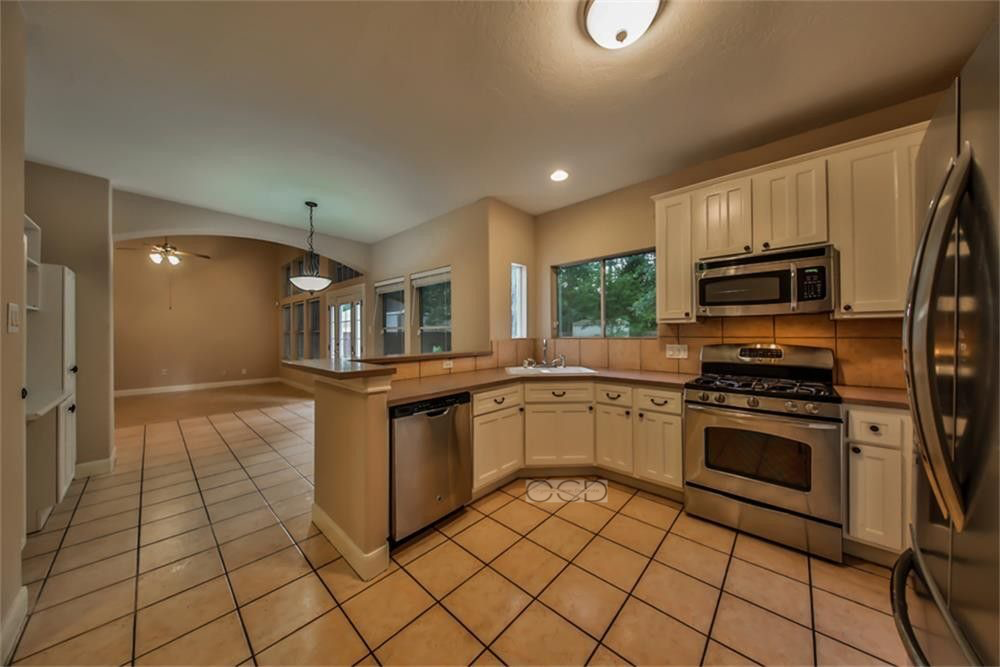
Before:
After:
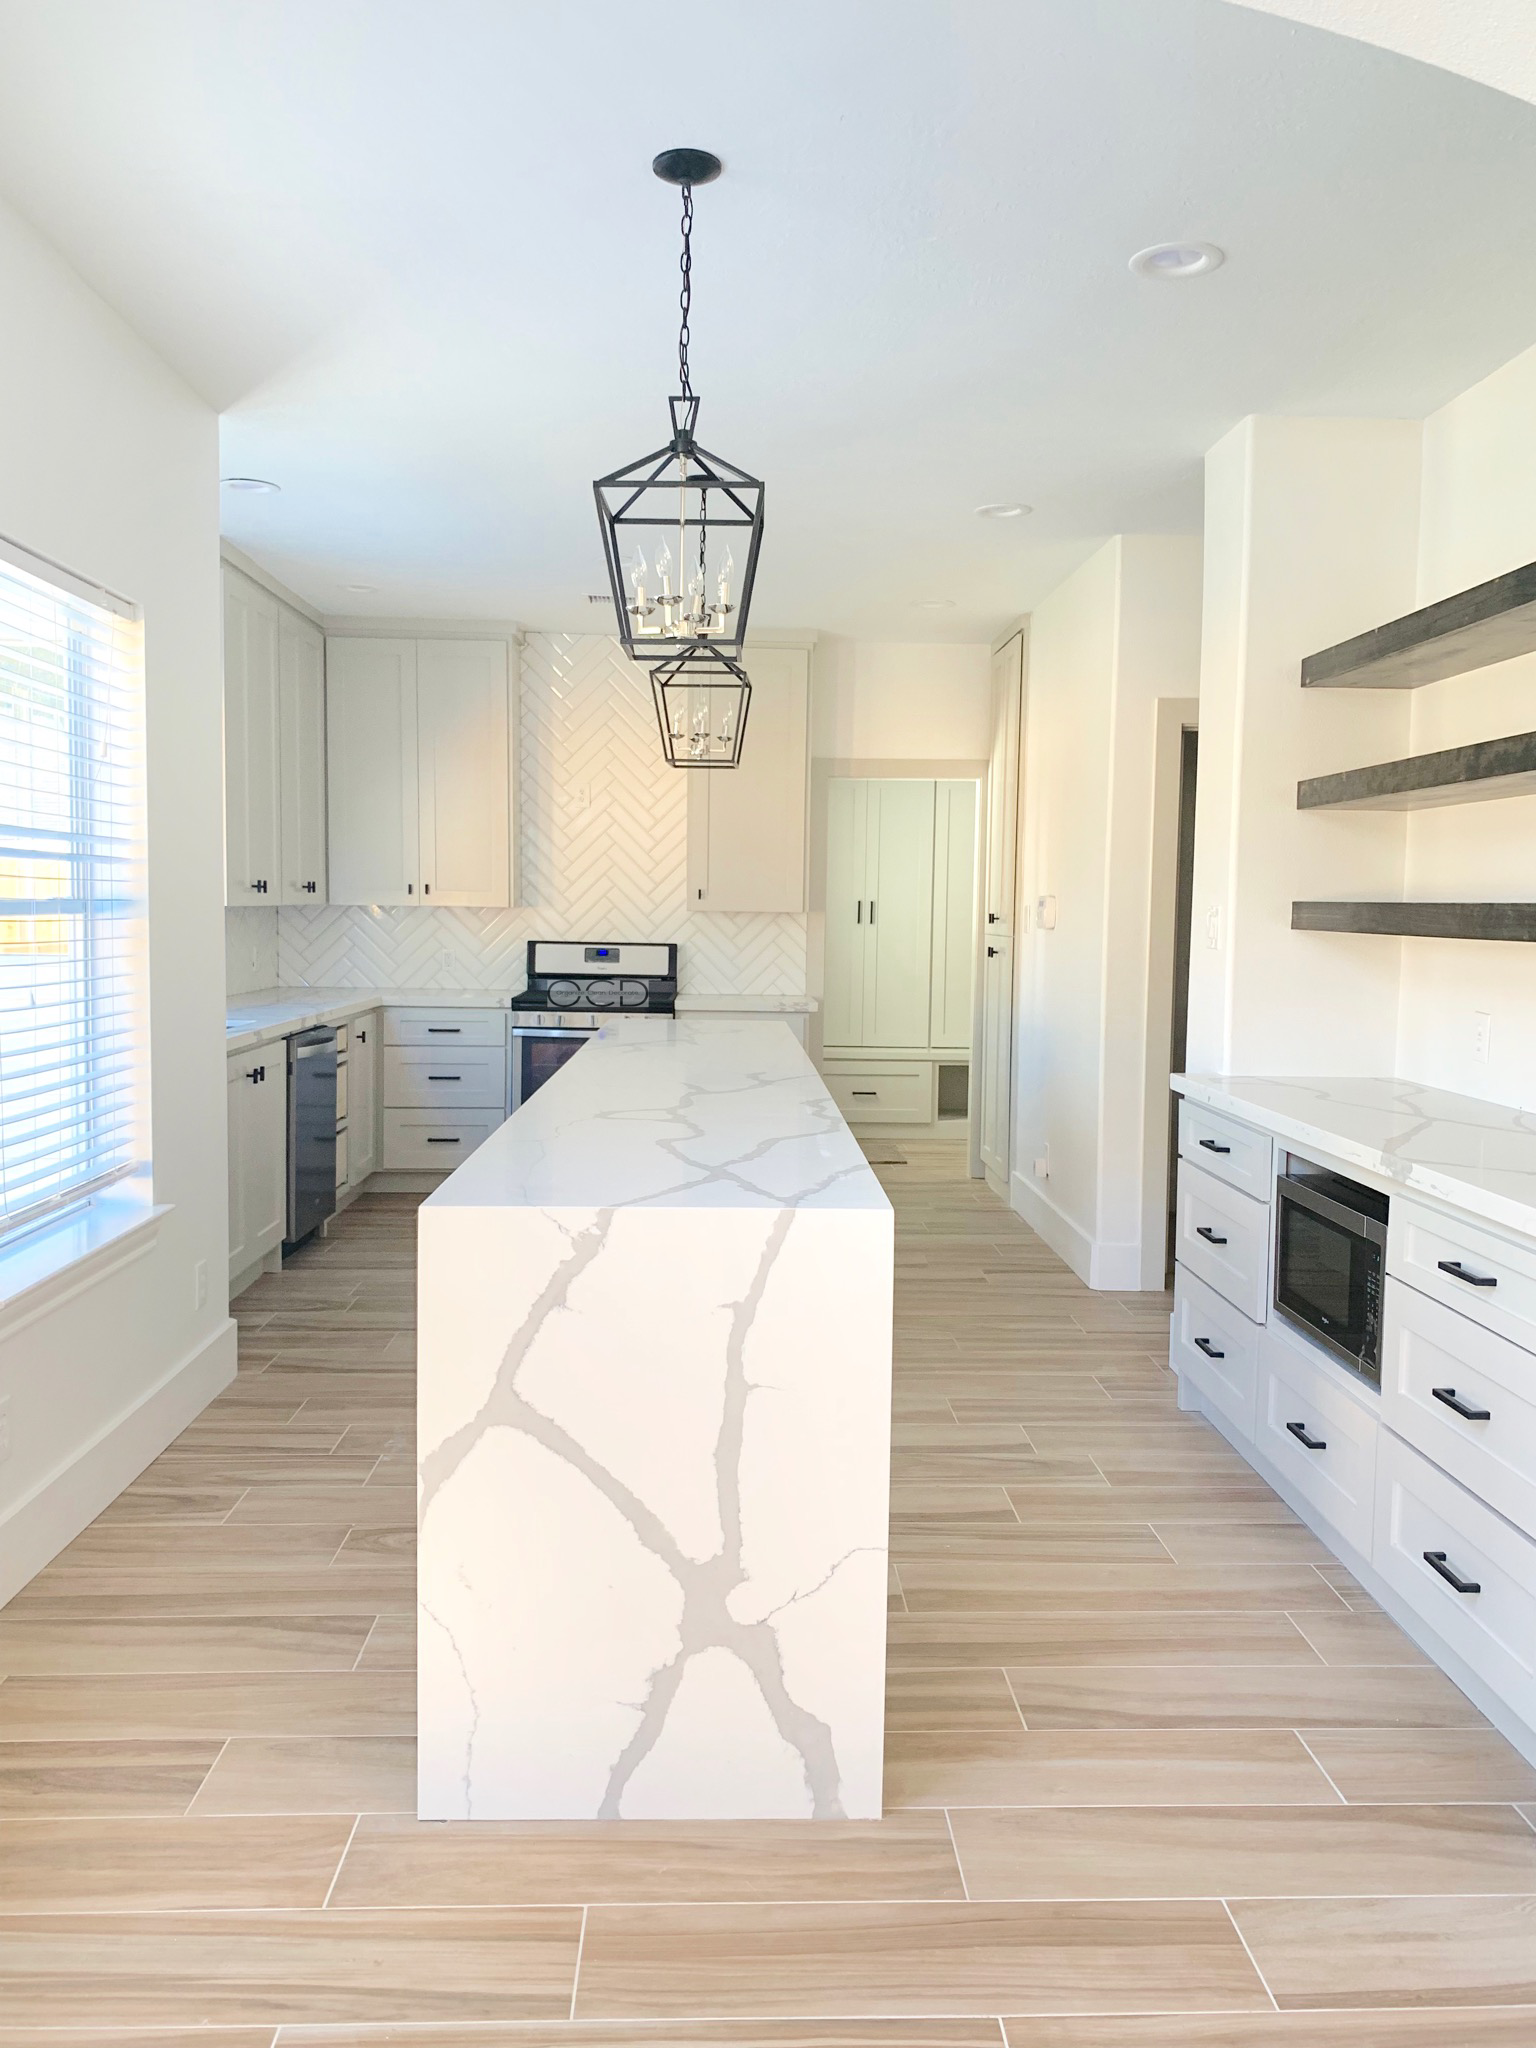
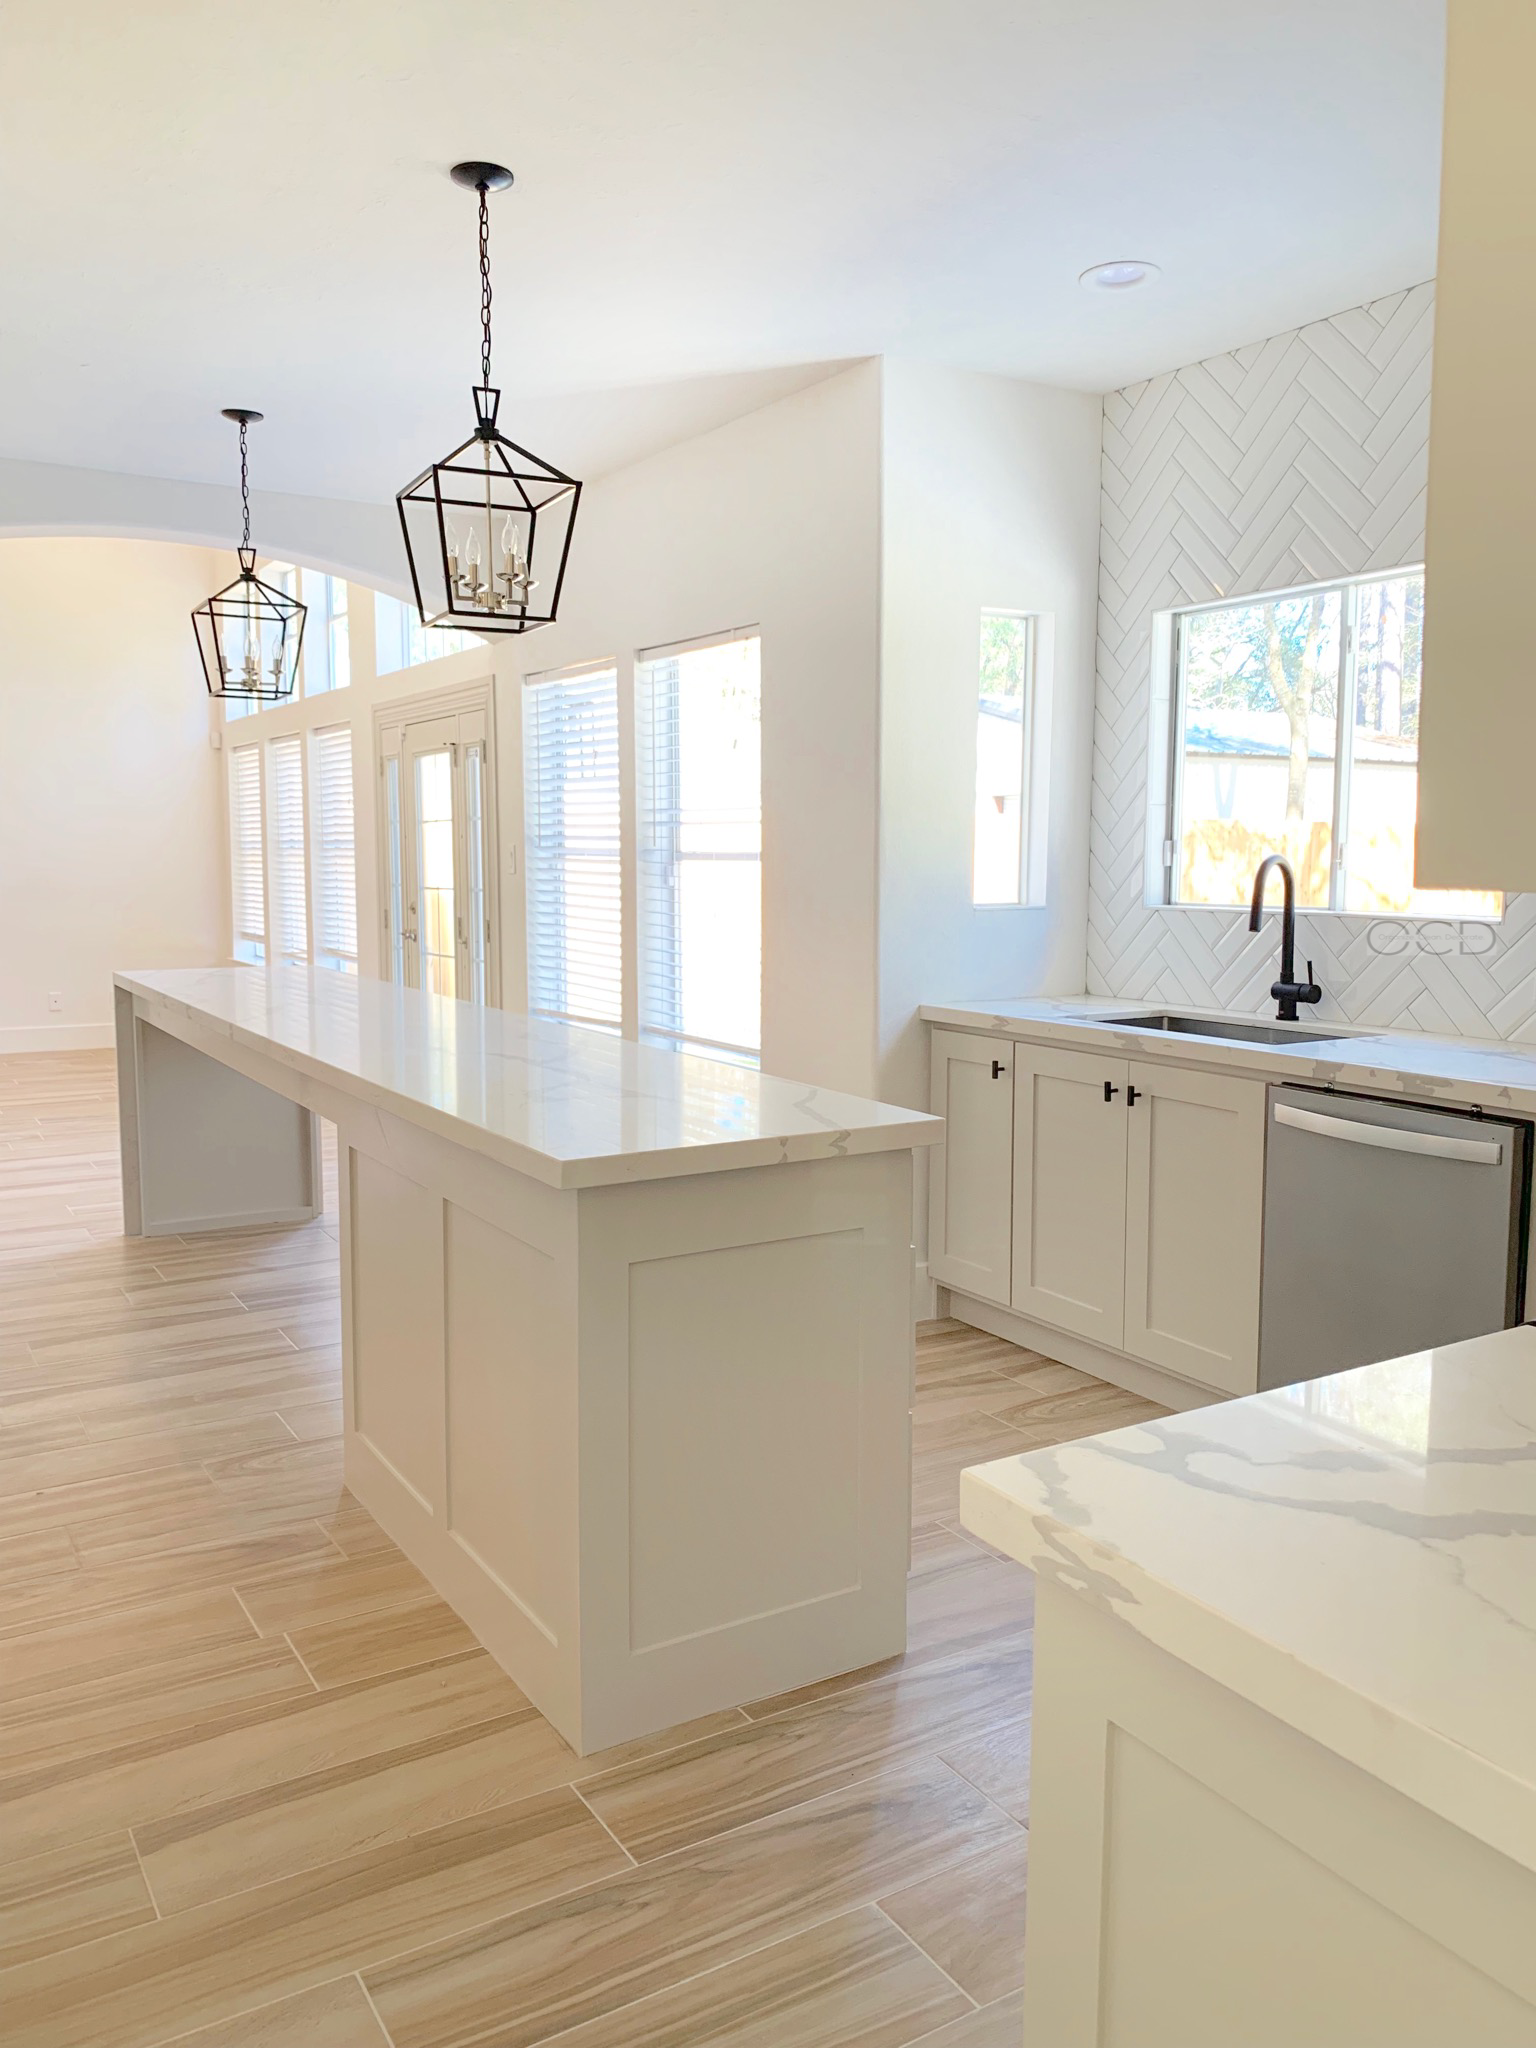
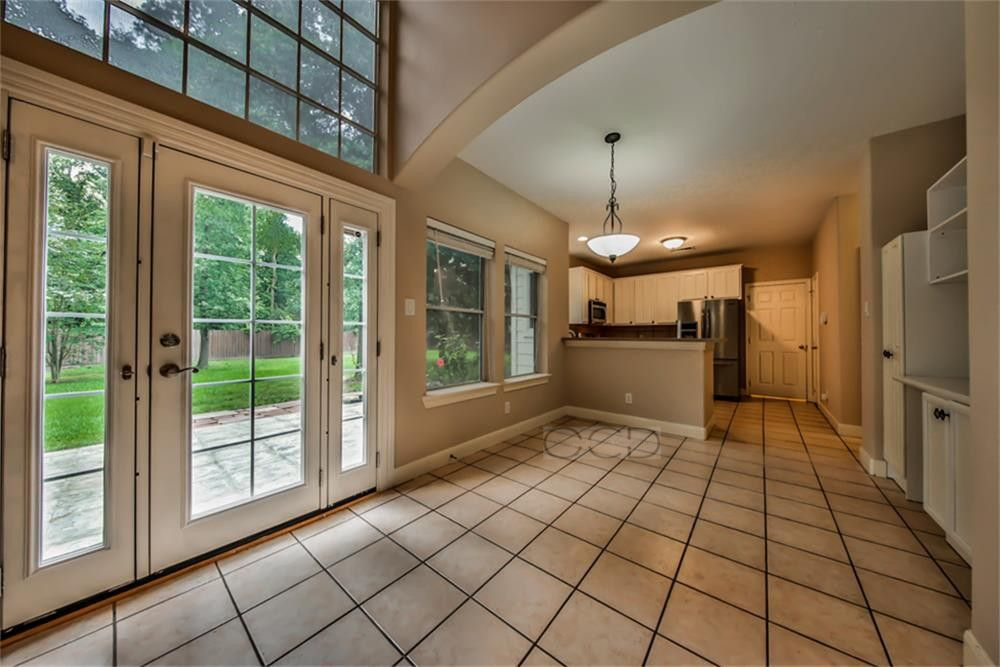
The kitchen. Oh boy. Originally, my husband wanted to keep the cabinets and the current layout of the kitchen. We spent a lot of time standing in the kitchen, measuring and remeasuring. The dishwasher located in the little peninsula was a hang up. I wanted that peninsula gone. It chopped the kitchen in half and made it feel cramped and closed off. I also wasn’t a fan of the corner sink or the microwave above the cooking range.
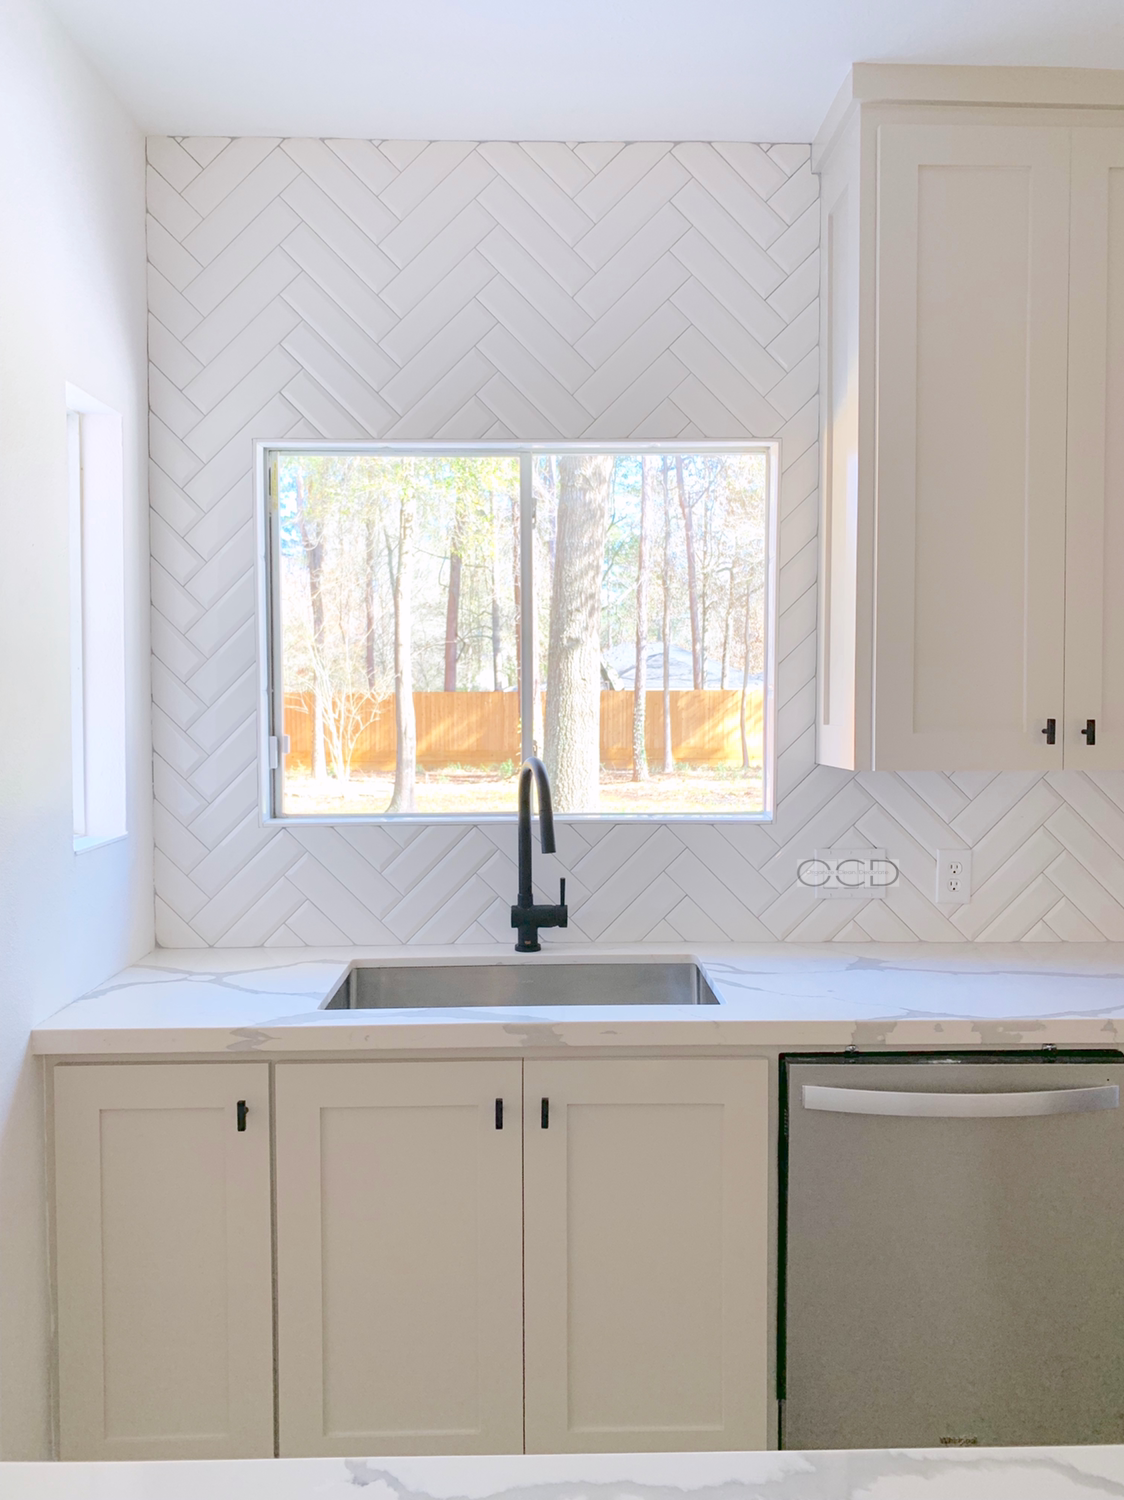
Once my husband came around to the idea of redesigning the layout of the kitchen, we got creative. We did an over-sized island with counter stools around it, so we could expand the kitchen into the breakfast nook and still have in-kitchen eating. Doing this nearly doubled the size of the kitchen. The coat closet became the perfect spot to relocate the refrigerator. This helped tremendously with space planning. We replaced a bank of cabinets with lower cabinets and floating shelves. The microwave was also relocated to that side of the kitchen. The sink pivoted so it was no longer in the corner, and the dishwasher was moved to the other side of the sink. The cooking range was moved to another wall, which helped to open everything up. The vent hood above the stove was installed after this picture was taken, but we used this one.
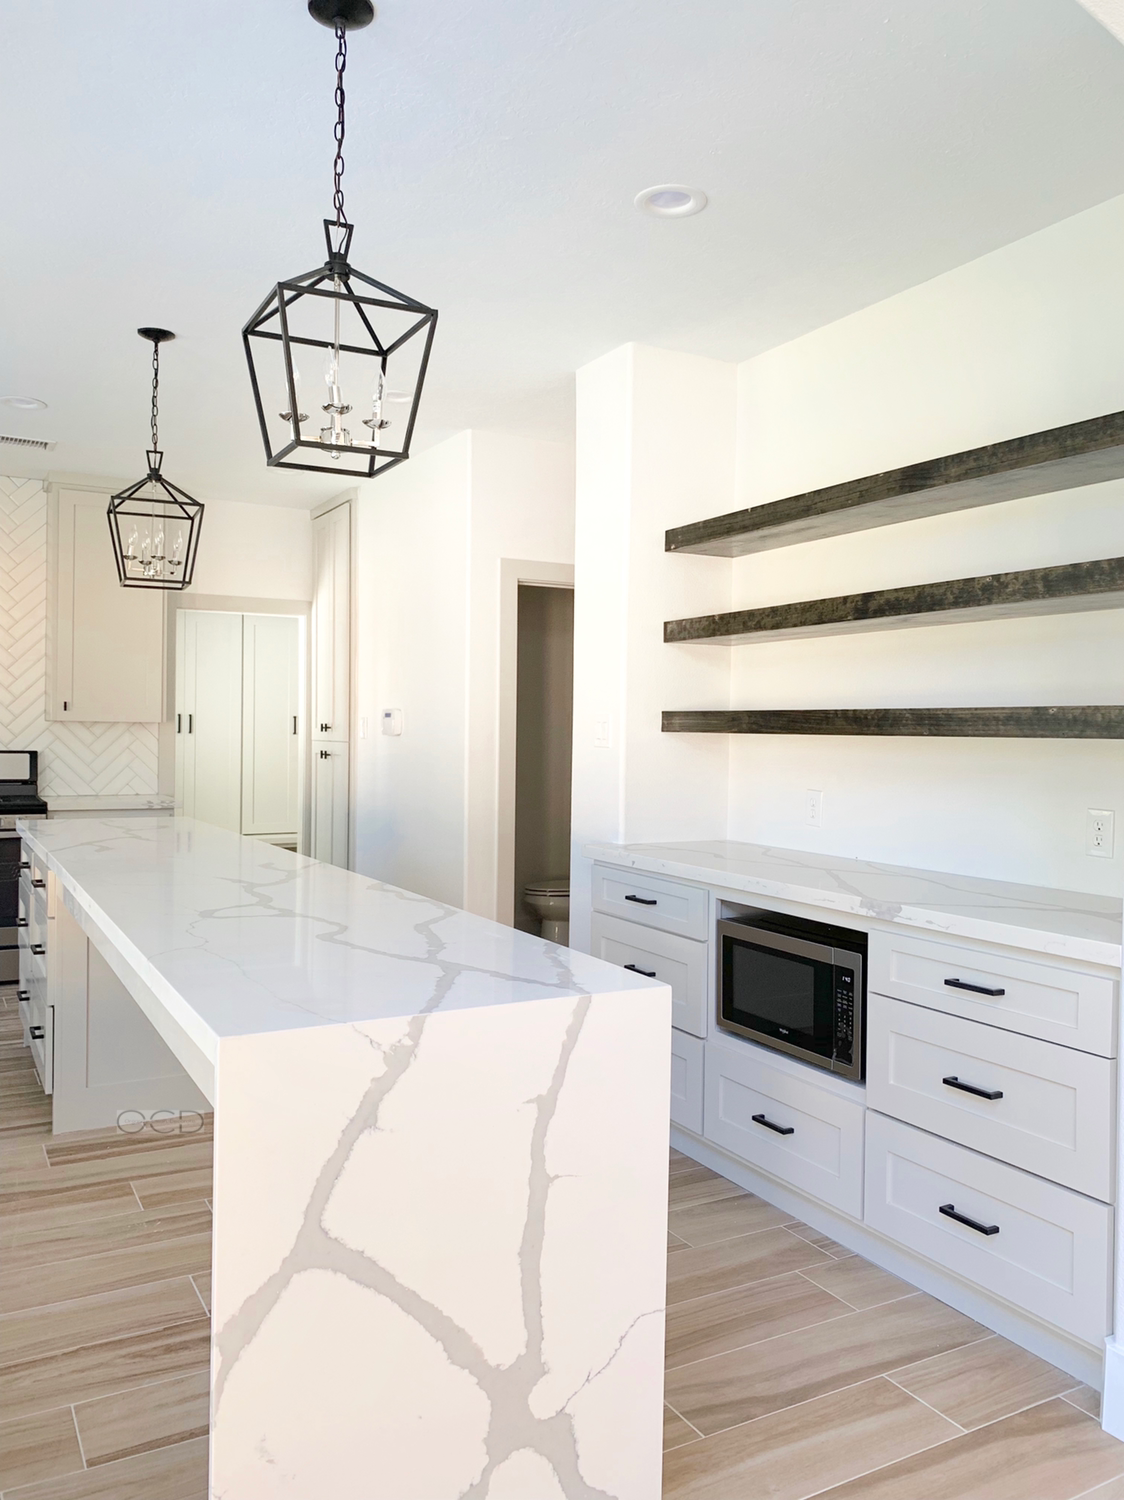
Our tile installer was less than happy with my decision to do a herringbone pattern backsplash with these white beveled tiles. My husband wasn’t sure about the beveled edge, but I insisted. We used a light gray grout that looked nice with the light gray cabinet paint- Agreeable Gray by Sherwin Williams. While Agreeable Gray is a warmer gray, it’s not as warm as it appears in some of the these pics. I was quickly snapping photos just minutes before we hit the road for Idaho, and wasn’t as careful as I could’ve been.
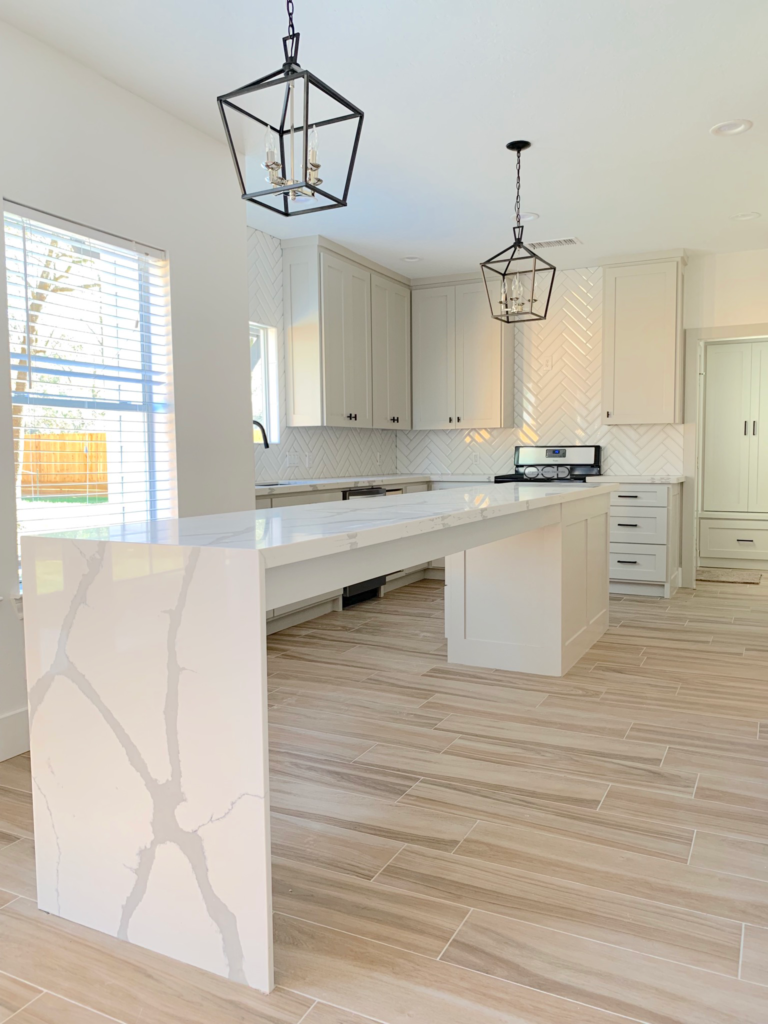
Other kitchen sources:
Counters: Calacatta Quartz

Hello. I love your work. This kitchen looks amazing. I was just wondering what kind of paint this is, or more of what sheen do you recommend for kitchen cabinets? I know the color is agreeable gray by SW. just need to know this sheen. Also, the sink size and type.
Thank you in advance.
Hi! Thank you so much! I believe that we went with a satin on that project. Satin and semi-gloss are best for cabinets in my opinion. The sink was provided by our counter guy, so I don’t have any information on that, unfortunately.